If you are looking to start a professional podcast in 2022 then this is the story for you. I will be going through a few different mic options, showing you different ways to set up and have them sound professional and all of this for less than $300, let’s get into it.
When starting a podcast you can easily become overwhelmed with all the gear out there and think you need to buy a fancy audio interface with expensive mics and a new PCto record everything on, but honestly the options have never been better for starting podcasts and Rode has made a ton of mics that make it possible for you to record great professional podcast directly on your smartphone without having to break the bank.
In 2022 it is less about needing a certain type of gear and more about what your needs are, where and how you want to record your podcast and then from there choose the gear that fits your needs.
Who, What, When, Where and How?
Before we can jump into what gear to chose, you first need to decide what your podcast will be about, who will be hosting? Is it just you are will there be more than one person? Are you interviewing people or will it always just be you? Where will you be recording this podcast and do you need to travel?
The reason you want to sort that first is that can determine what your needs are and what gear you should invest in for your podcast, for example, if you have a podcast where you will be interviewing people on every episode and you need to travel to them, then buying a giant audio interface that requires multiple plugs and a PC might not be your best option since that will be hard to carry around and setup wherever you go and a better option would be a smaller device that could potentially just plug into your phone or laptop at most, to ensure that you can always record no matter where you are or the environment that you are in.
For mic choices I will be running through different setups and each will cater to different scenarios, but it will be up to you to decide what mic fits your needs and budget the best to ensure that you get the best results for your podcast.
Choosing Your Mic
Now that you know what to record, let’s take a look at what you can record that with, with a few different options.
Option 1 is the Rode VideoMic Go II and what’s great about this mic is how versatile it is. At $99 the VideoMic Go II can be used as an on Camera mic for recording videos and vlogs, it can be connected via USB to a PC or Laptop to be used as a mic and can also be connected to your smartphone to record videos or podcasts on your phone.
Now this works really well with the Rode Reporter app and from there you can easily record your Podcasts, export them to your PC, make some minor cuts and upload from there, making a great option for almost any use case.
The Rode VideoMic Go II will however work better for people doing a solo podcast since it is a directional mic and you would want to ideally place this mic pointing to your mouth for the best results. You can use it for multiple people, but then each person would need their own mic.
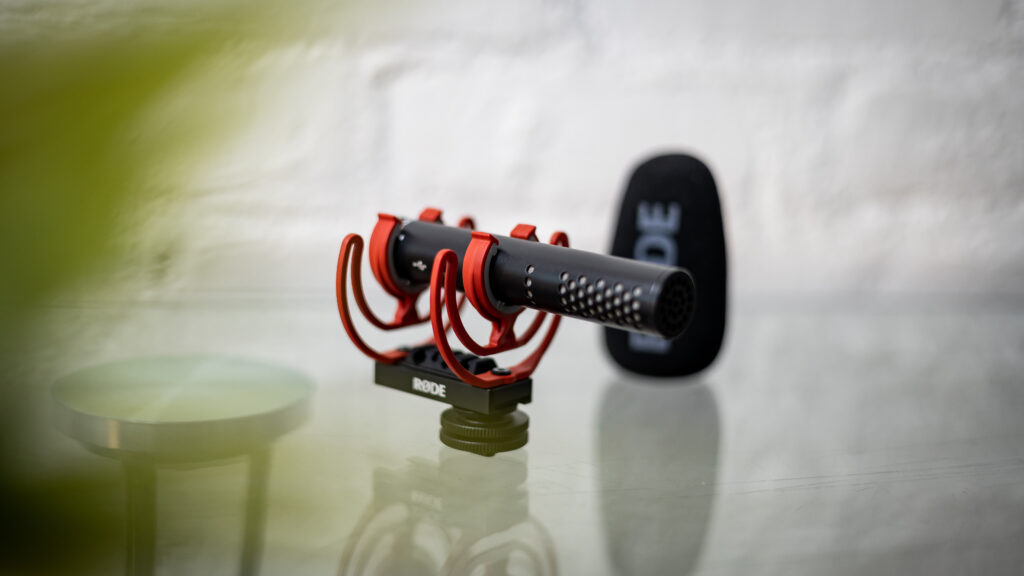
Now if you want something similar but a little better then the Rode VideoMic NTG could be your option. The VideoMic NTG is also an on camera mic that costs around $203, but it is a little more directional than the VideoMic Go II, it has a built in battery with some effects and features you can enable on the mic, plus you have an adjustable gain knob at the back that could make setting the perfect gain really easy in any situation.
The VideoMic NTG can also be plugged into a PC, Laptop or smartphone depending on your needs and will offer great audio quality for your podcast no matter where you are.
This makes the Rode VideoMic NTG a great option once again for almost any setup, but it will require more than one mic if you are hosting a podcast with more than one speaker.
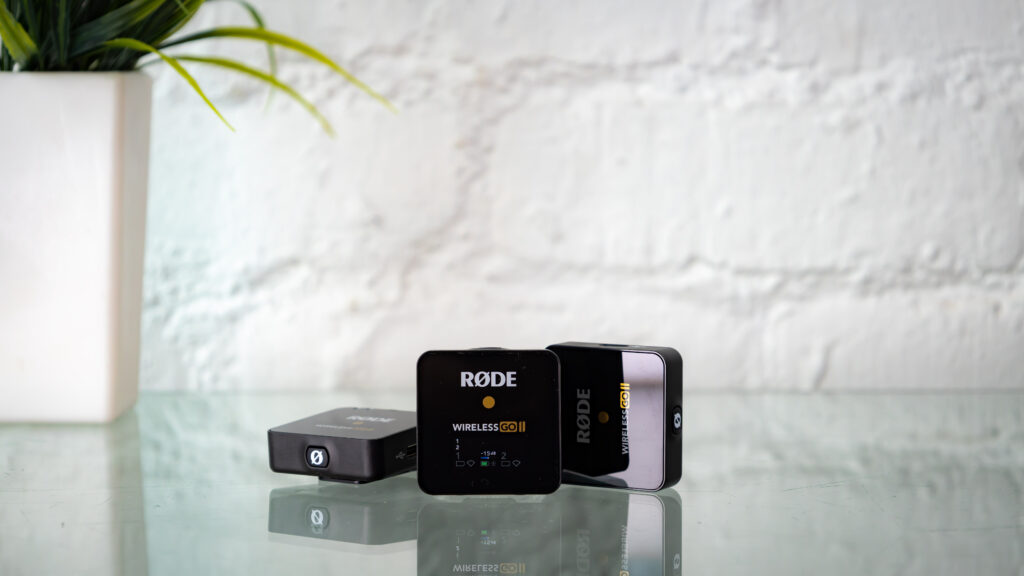
If you are looking to make a podcast with two people and still want the ability to either connect the mics to a camera, PC, Laptop or your smartphone, then the Rode Wireless Go II might be your best option.
The Rode Wireless GO II units can be used wireless on all of the above mentioned devices and they have the ability to connect mics to them to use those mics wireless as well, for example the VideoMic Go II, the VideoMic NTG and even lavalier mics if needed.
The Rode Wireless Go II setup is really versatile, really cost effective once you take a look at what it can do vs the cost and at $249, it could be a great buy since you don’t need anything else to record two people for your podcast.
Another great option for recording two people would be the Rode AI-Micro and two Lavalier mics. Once again what’s great about this option is that you can use this device on multiple different devices like a PC, Laptop or smartphone and you can connect any mic that has a TRS or TRRS cable to this device to record your podcast.
This setup can get pricey but the AI micro is only $79 and the Rode Lavalier Go mics go for around $60 each making it a little more affordable than the Wireless Go II setup, but you can use those on your camera as well, they are wireless and you can also connect external mics to the wireless Go II to make them wireless as well, for example lavalier mics.
“Rode wireless GO II with connected device”
One thing you need to keep in mind about lavalier mics are that they are omnidirectional meaning they pick up audio from everywhere at the same volume, so if you are making podcasts in less treated areas with a lot of echo then these mics might not give you the best audio quality possible and then I would suggest rather going for one of the first two options if you are a solo podcaster, but if you need two then these are still a great option.
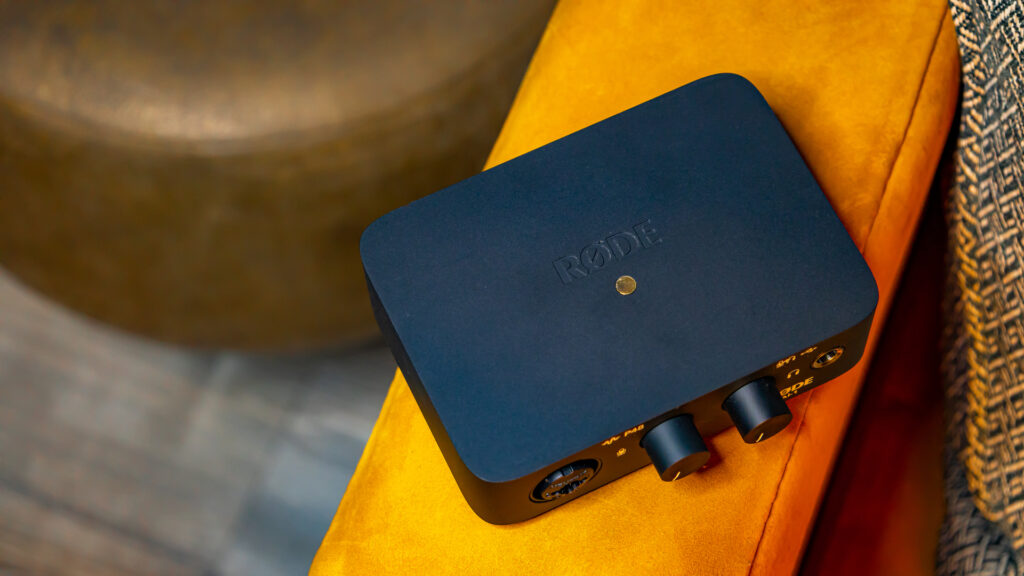
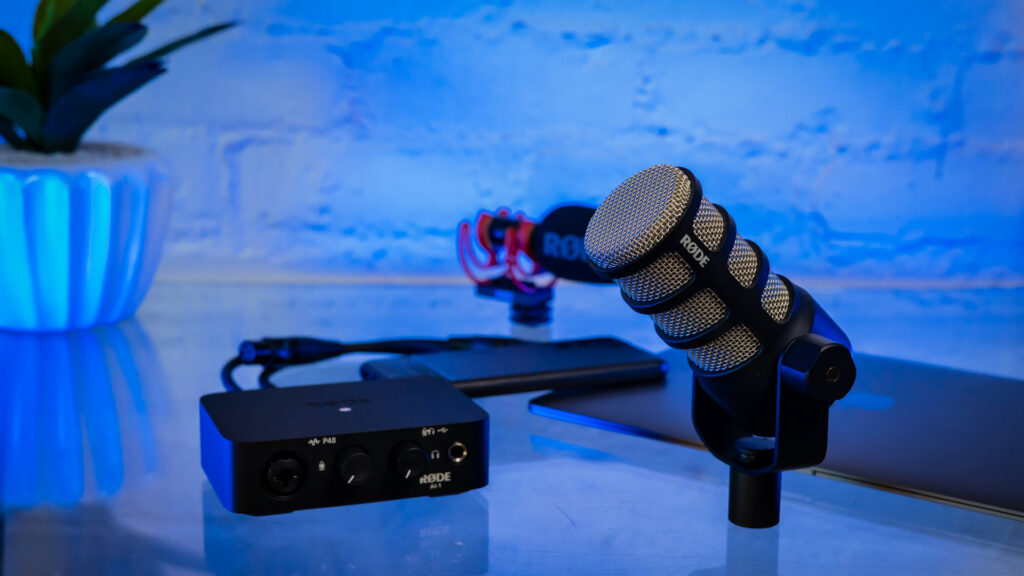
If you wanted to use more of a professional system with an XLR mic then Rode has got you covered there as well with the Rode AI-1 which is a plug and play audio interface that can be used on both PC, Laptops and Mac and it is as simple as connecting the AI-1 to your device of choice via a USB cable and that provides the connection and power, then you can connect any XLR mic of your choice and use that for your Podcast.
The Rode AI-1 also has a combo jack so you can connect instruments as well to use this device for a home recording studio and since it is small and compact this system makes it easy to travel with you and make podcasts wherever you are. For this setup I would suggest grabbing the Rode AI-1, the Rode Podmic and the Rode PSA1 or any other mic arm or desk stand for your mic and this entire professional setup would set you back around $300 which is still cheaper than some audio interfaces on the market today.
Mic Best Practices
Now once you have selected your choice in mic there are a few standard best practices to get the best audio quality out of your mic and number one is get the mic as close to your mouth as possible, what this does is it allows you to turn down the gain of the mic, meaning there will be less noise in the signal and it will be less likely to pick up background noises since they will be softer compared to your voice.
Another thing you can do is to add a pop filter especially if you have the mic close to your mouth since it will pick up a lot of plosive sounds that can be annoying and make the quality of your podcast bad in turn making people leave instead of having them come back.
What’s great about all the mic choices I have given is that all of them have either built in pop filters or comes with socks to help reduce that already, but if you find you still need more, then they are fairly inexpensive and can make a huge difference.
Another thing you can do is to control your background noise, choose a good quiet area that doesn’t have a lot of echo, also if you have a fan or air conditioning or anything that you can turn off that makes a noise, do that as it will help clean up your audio, making it sound better and making it easier on yourself since you won’t have to try and play around while editing to reduce it and you can then just simply cut and upload.
And then lastly is take pillows or blanks and scatter them all over the room you will be recording in and this will really help reduce the echo in a room, so if you have an echoy room, then this could really help make a difference even if it is just a tiny difference.
Time To Edit
So now that you have your entire podcast set up, you have your mic, you know where to record, you just recorded your first episode, now what?
So lucky for you the year is 2022 and there are a bunch of options out there for you to choose from and some are free, some are not, but even the free ones are really capable and will be fine even after you have millions of listeners.
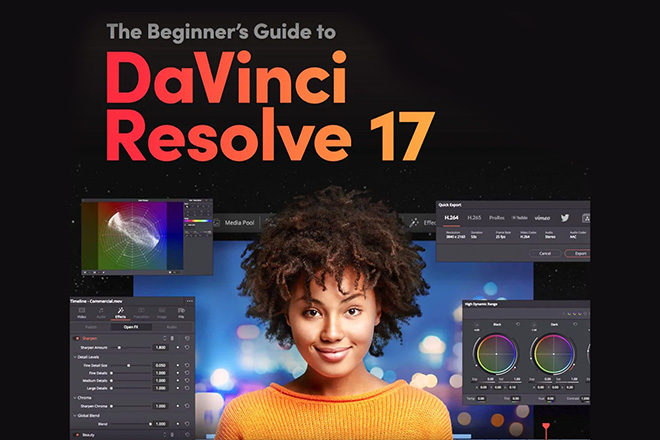
So number one is the free option and that is DaVinci Resolve, it is a really powerful program that can do both video editing and motion graphics, but you can also use it to cut your audio add some EQ and export to be able to upload it making it great for podcasts.
Secondly is Ableton Live and it is free if you choose to go for the AI-1 with Podmic option as Rode actually provides that for free with your purchase of the Rode AI-1, but it is actually a paid product that is really good for recording and editing audio and starts of at a once off purchase price of $99 but can get more depending on the package and honestly I wouldn’t buy this since it is aimed at music production so you will be paying for a lot of features you don’t need, unless you also need that.
And then Lastly is Adobe Audition and that is free with an Adobe Creative CLoud subscription, but once again if you don’t have that I would suggest starting with Davinci Resolve first since it is free and try it out on a few episodes, see how it works and if you even like making podcasts.
From there I would suggest doing some basic EQ to your voice, and then selecting a distributor to distribute your podcasts.
Where To Distribute?
One thing you need to have a look when selecting a distributor is to see if they distribute to the major streaming sites like Apple and Spotify since most people make use of those platforms and then once you have found a few select the one that suits your budget and your needs. Some options are Anchor which btw is free and is really good, Podbean or even Squarespace if you have a website with them so just browse around and see what your options are and what they have to offer.
And then lastly is, Just start. Make a few episodes before you invest too much, but once you know you want to do this I would suggest investing in the Podmic and at least the AI-1 or the RodeCaster Pro or RodeCaster Pro II since those will give you amazing audio quality and they make it super easy to record your entire podcast with a lot of great features and really make it easy to then just export and upload without too much editing since EQ and everything is also done on the interface itself.